ArcGIS + Python + Jupyter Notebook = Win!

One of my favorite tools when working with Python and exploring how things work is Jupyter Notebook. Jupyter Notebook however, is not included with the ArcGIS installation of Python. Until the 1.3 release of ArcGIS Pro, there really was no practical way to install packages to get Jupyter Notebook either. Now, with the inclusion of Conda with ArcGIS Pro 1.3, we have access to the rich world of Python packages available. Fortunately, the available packages include Jupyter Notebook.
This instruction of how to get Jupyter Notebook installed and running is going to be relatively brief. Yesterday I did a much more detailed write up discussing how to get started with Conda and ArcGIS Python.
To install Jupyter Notebook using Conda, first open up the Python Command Prompt as the Administrator. On Windows 7 this is accomplished by going to Start > All Programs > ArcGIS > ArcGIS Pro and right clicking on Python Command Prompt.
Once the Python Command Prompt opens up, install Jupyter Notebook by entering > conda install ipython-notebook. Jupyter Notebook used to be called iPython Notebook, but the project was renamed. While I do not know many details of the how or the why, searching for jupyter did not reveal anything, but searching for ipython did, so this is what we are going with.
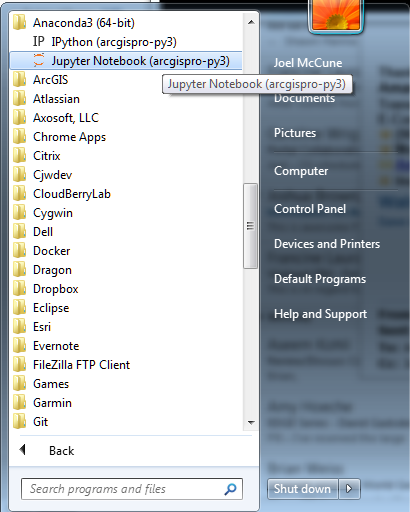
Once finished we can close the Python Command Prompt. Now we have Jupyter Notebook available available right in the Start menu. We can get started experimenting with Jupyter Notebook on Windows 7 by going to Start > All Programs > Anaconda3 (64-bit) > Jupyter Notebook (arcgispro-py3).
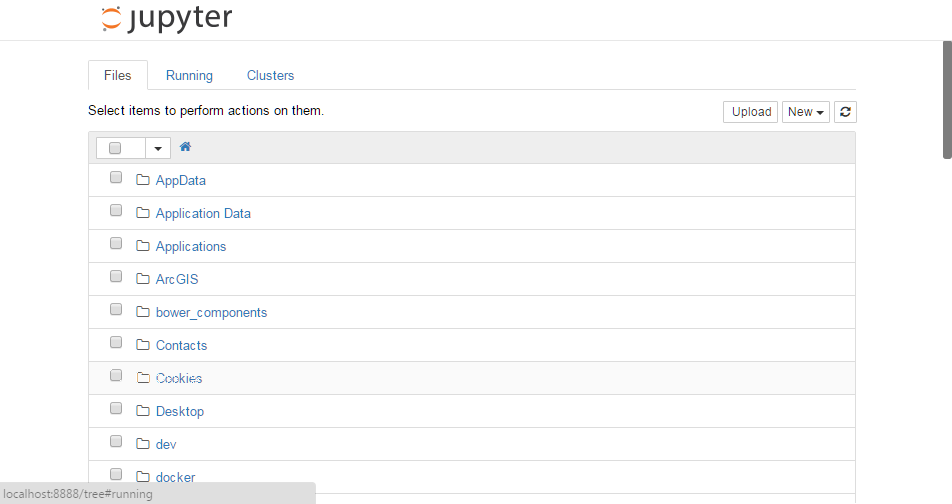
This will open a command prompt window, and then a web browser tab in the default web browser. We need to leave the command prompt window open in the background, but it can be minimized since we really do not need to monitor what is going on. In the new web browser tab, we are now looking at a directory tree of our user directory on our machine.
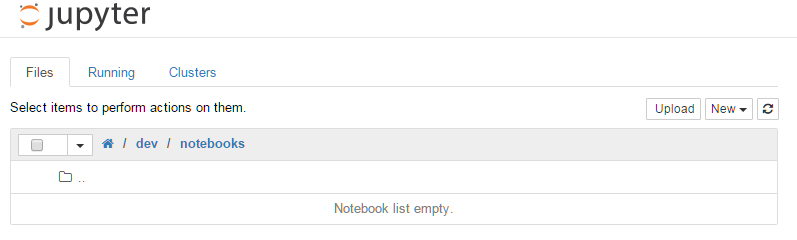
From here we need to go to the location where we would like to store our notebook. On my machine, I store all my development stuff in one directory, ~\dev, and plan to store all my new notebooks in ~\dev\notebooks. Hence, I first need to navigate here in the browser.
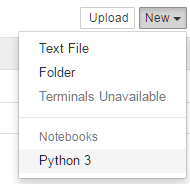
Now, in Jupyter Notebook, we can create a new notebook to play in by going to New > Python3.
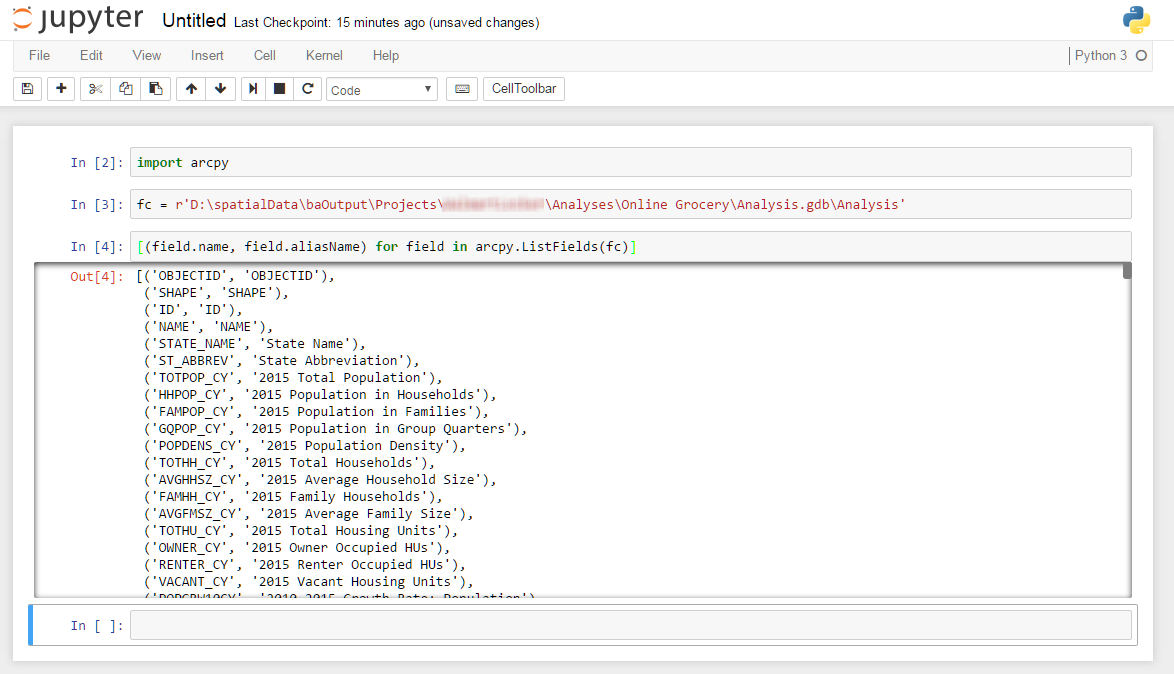
This will open up a new Jupyter Notebook where we can start playing around with Python. Unlike previously, where we did not have access to ArcGIS through arcpy, now we can import arcpy, test, and explore what is possible very quickly.

In the above example I am tinkering with using a list comprehension to get a list of tuples, the exact type of thing Jupyter Notebook is great for working with. Hopefully this helps you get started working with this excellent Python experimentation environment. Have fun!
Note: There is a boatload more information and explanations in an article on GeoNet, Python and ArcGIS Pro 1.3: Conda