Installing ArcGIS Server 10.5 on Ubuntu Server LTS 16.04.1

Ubuntu, I have been using it since the inception in 2004; it is consistently in the top 10 Linux distributions according to DistroWatch, and the parent company Cannocial is based on Isle of Man where arguably the most intense motorcycle race in the world is contested.
While I likely would be inclined to use the distribution for the last reason alone, the first two are compelling reasons why, when I learned Esri is now offically supporting Ubuntu, I wanted to learn how to get this installed and setup. Below is my experience in getting all of this up and running. Admittedly I make some calls regarding how to setup and configure the environment. This really is little more than a ride along to see how I did it, and how I got it working.
Broadly, the steps required to get this up and running for me include:
- Post installation updates and additional package installation
- Webmin installation
- Copy Esri installation resources to the server
- Create an arcgis user and create a location for the software installation
- Install ArcGIS Server as the arcgis user
- Set up Server startup
Post installation updates and additional package installation
Right after installing Ubuntu, I make sure everything is up to date.
sudo apt-get update && sudo apt-get upgrade
With everything updated, next is installing a few things we are going to need, a requirement for ArcGIS server - gettext, a Java web server - Tomcat7, and just to make sure we can log in remotely - openssh-server. The -y operator just means we do not have to manually have to say yes later.
sudo apt-get install gettext tomcat7 openssh-server
Webmin Installation
If you want a much more granular discussion of what is going on with all this, I have a blog posting about installing Webmin on Ubuntu. Yes, it is for 12.04, but everything works. I copied and pasted directly from my previous blog posting, and it all worked flawlessly. No, you do not need to do this, but I like Webmin for ease of server administration. If you don't - don't install it. It's not like I'm going to stop you.
Copy Esri installation resources to the server
Based on the Filesystem Hierarchy Standard, I create a location in /tmp called arcgis. The benefit is when you restart your system, everything in the /tmp directory is flushed, streamlining cleanup.
sudo mkdir /tmp/arcgis
With this created, mostly due to not wanting to mess with Samba or NFS, I just use Webmin to move all the files into this location. Once finished, there are a few resources in there. Just for the sake of simplicity, I rename my license file to server.prvc.
/tmp/arcgis/ArcGIS_Server_Linux_105_154052.tar.gz
/tmp/arcgis/Web_Adaptor_Java_Linux_105_154055.tar.gz
/tmp/arcgis/server.prvc
While we are here, it is a good time to extract all the resources we are going to be using.
tar -zxvf /tmp/arcgis/ArcGIS_Server*.tar.gz -C /tmp/arcgis/ && tar -xvzf /tmp/arcgis/Web_Adaptor*.tar.gz -C /tmp/arcgis
This will extract a lot of resources into two directories /tmp/arcgis/ArcGISServer, and /tmp/arcgis/WebAdaptor. Now we have all the resources to get started installing, but first we need to set up the server with a user and location to install to.
Create install location owned by arcgis
For this installation, we create a unique user to own all the files to be installed named arcgis.
sudo useradd arcgis -m -s /bin/bash && passwd arcgis
This will prompt us to set up a password. After typing one in, and remembering it, we next need to create the directories where we are going to install all our goodies. Again, based on the Filesystem Hierarchy Standard, we are going to be installing everything in the /opt directory under a subdirectory called (you guessed it) arcgis.
sudo mkdir /opt/arcgis
Next, make arcgis the owner of this new directory.
sudo chown -R arcgis:arcgis /opt/arcgis
And now change the permissions so just the arcgis user has access, per recommendations in the documentation.
sudo chmod -R 700 /opt/arcgis
Finally, just to make life easier when setting up the init.d scripts later, add arcgis to the sudo group.
usermod -a -G sudo arcgis
Install ArcGIS
We are almost ready to install ArcGIS Server, but we need to complete one more step. We need to set a few limits in a config file before we can install Server. Open the limits.config in Nano.
sudo nano /etc/security/limits.conf
Right above the end of file line, add four lines.
arcgis soft nofile 65535
arcgis hard nofile 65535
arcgis soft nproc 25059
arcgis hard nproc 25059
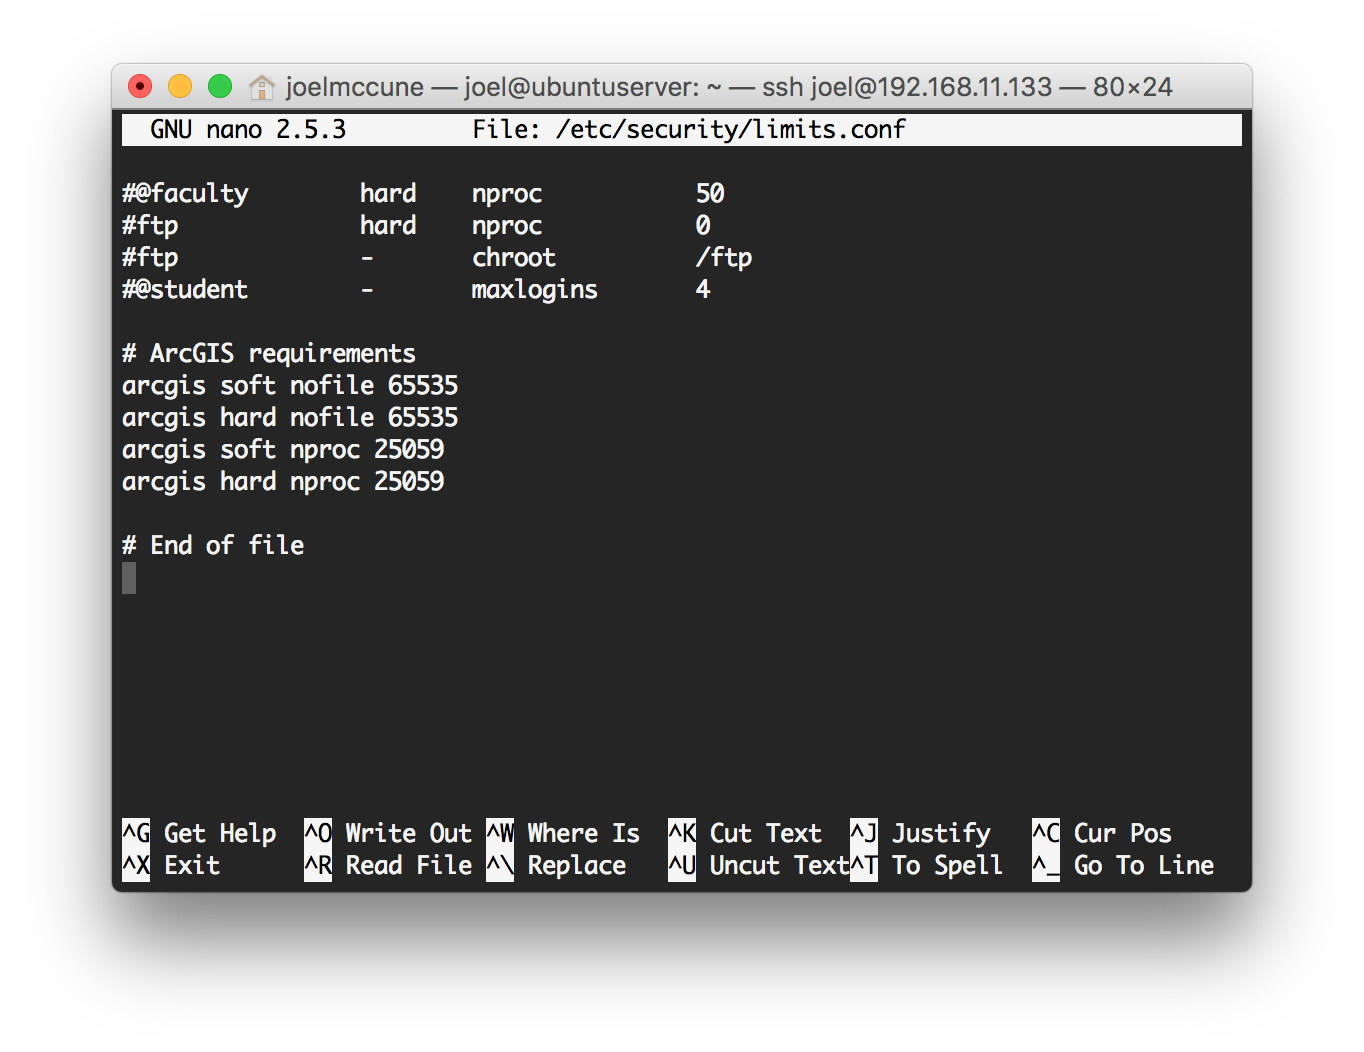
After pressing Ctrl+X, we can press Y to save the file.
Now we are ready to install ArcGIS Server. It must be installed as a normal user, and we are going to use arcgis, so we switch to this user.
su arcgis
Now, the installation can be started using quite a few parameters detailed in the documentation.
/tmp/arcgis/ArcGISServer/Setup -m silent -l yes -a /tmp/arcgis/server.prvc -d /opt/arcgis
Get comfortable. Go get a cup of coffee. Catch up on Reddit. This takes a few minutes.
Setup ArcGIS Server Startup
Once finished installing, there is one more step to have a ready-to-run instance of ArcGIS Server, configure it to start when the computer starts up. This is pretty straightforward, but does require one small edit. Fortunately, there is a Perl one-liner we can use to do this after moving the file. Hence, we start by copying.
sudo cp /opt/arcgis/server/framework/etc/scripts/arcgisserver /etc/init.d/
Now we can use our Perl one-liner to edit the file so it knows where we installed ArcGIS Server.
sudo perl -pi -e 's/agshome=\/arcgis\/server/agshome=\/opt\/arcgis\/server/g' /etc/init.d/arcgisserver
Now, just tell Ubuntu to use this script to start ArcGIS Server every time it boots up.
sudo systemctl enable arcgisserver
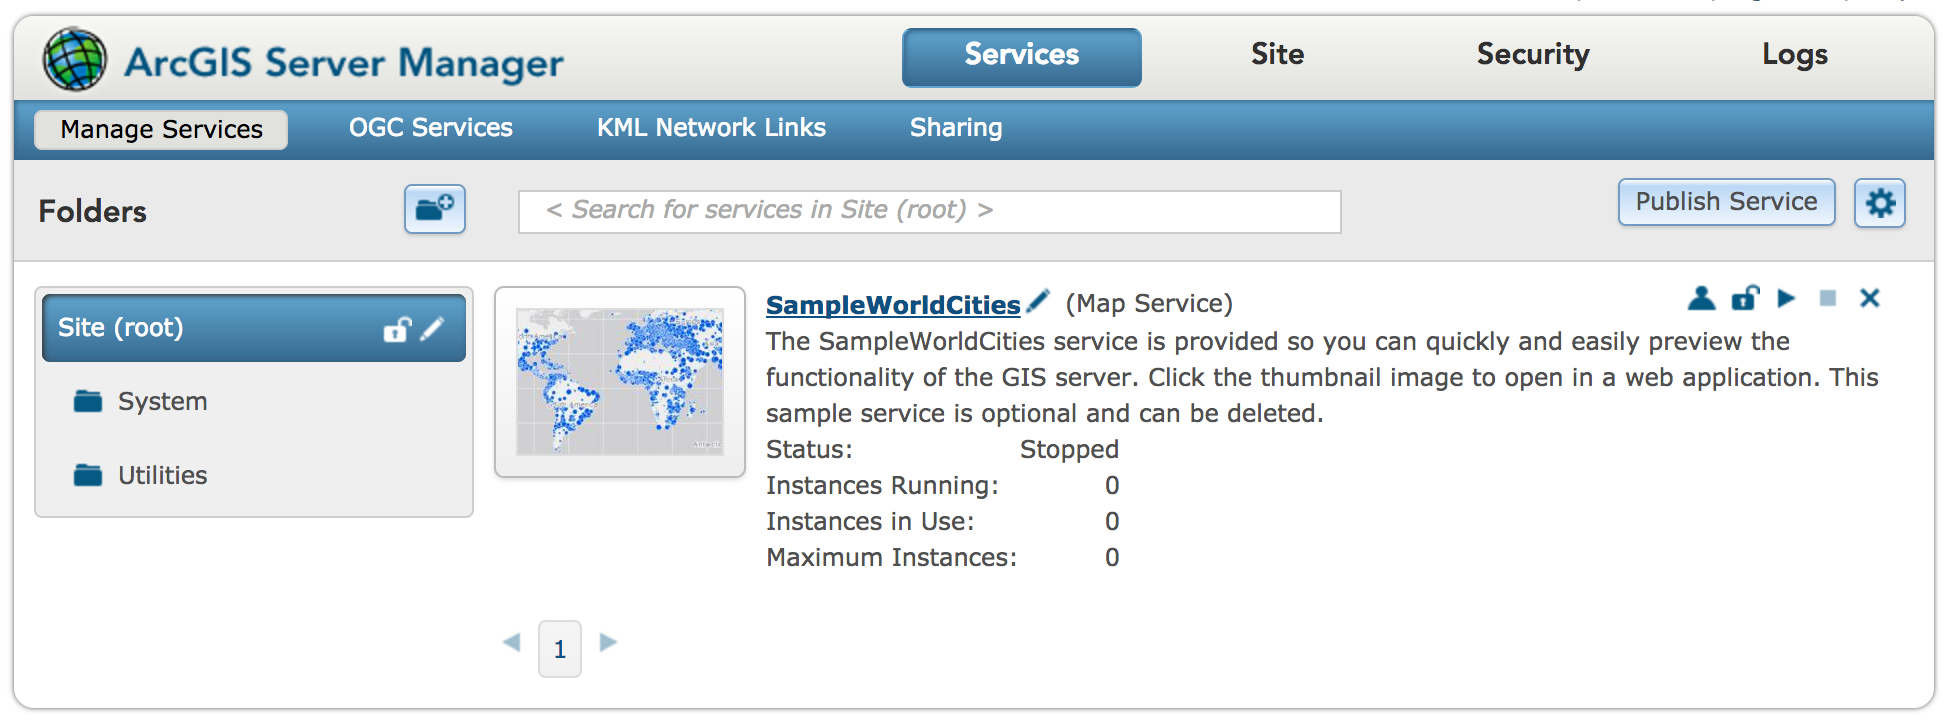
This gets us up and running with a working instance of ArcGIS Server. While most of this is well documented, it still took me quite a bit of trial and error to get it working. If you are interested in this, hopefully this gets you up and running a lot more quickly!
From here, you can continue to sort out security, attaching to a web adaptor, and federating with a Portal instance. I'm still working on it, so if you figure it out before I do, please comment and show me how!